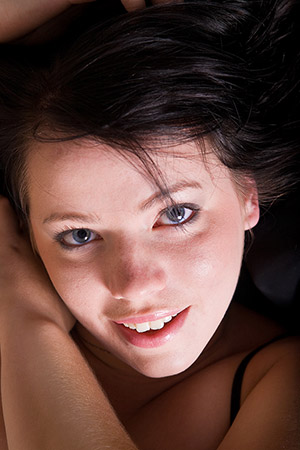
If you scan through many modeling websites, you’ll see there’s a common question asked by new comers who want to be models: “What do I need to do to become a model?”
Usually members skip that question. I’m not sure why. Maybe it’s that the answer is a little more complex than a quick answer. Perhaps it’s that a good portion has to deal with genetics. It could even be experienced models don’t want the new competition entering the field.
I decided to take a shot, however, at answering the question.
 Q: What can I do to become a model?
A: To a writer, the advice is read as much as you can. To a model, I’d say look at as much as you can — in particular other photos of models.
Analytically, try to figure out what it is about the models you like. Is it their pose, is it their facial expression, do they look into the camera? Try to emulate that pose in the mirror.
Study books on posing. And if you’re really clever, study books on photographic composition. If you can deliver what the photographer is trying to capture, you’ll make life so easy he’ll be raving about you.
Another thought is to find pictures of models that look like you. There are some web sites where you can beam up a picture of yourself and it will give you celebrity matches. Perhaps hair styles, makeup, and clothes that work for them will also work for your looks and body type.
Take care of your body; keep your skin clean and healthy. Apart from good diet, steer clear of all the things you know you should. Modeling is based upon looks, and you have it in your control to keep them.
Know your body, be comfortable with it, and find make up that works for you. Photographers often go for the natural look, so keep that in mind the next time you want a sprawling tattoo or obvious body piercing. These won’t necessary stop you from being a model, but it can raise unnecessary barriers to entry. Imagine a bank looking to fill a teller position, which candidate has the higher probability of landing the job: someone dressed in punk with a lip ring and colored spiked hair, or, the candidate in an pressed shirt, tie, and jacket. Both might be equally capable and friendly, but one will have a harder time than the other.
Work on building a decent portfolio. The best way to do this is to find local photographers you trust and negotiate a Time for Prints/CD shoot. It costs you nothing but some time, and in return you get some great pictures.
Ideally, you want more photos that you know what to do with. Cull them down to the best of the best, you don’t need to show every photo you have. Make sure you get a variety of looks. You want to show you’re versatile. Demonstrate that you’re adaptable.
Post your portfolio where photographers can see you, and let them know about your availability, interest, and boundaries. You may get more TFP offers, you may get fixed rate sessions, you may get a set hourly rate. Take only the jobs you feel comfortable with.
Seek opportunities where the photography is going to get exposure, even if you have to do it at a reduced rate. The more exposure you get, the more you’ll be able to command later.
It’s important not to let things get to your head. When a model without serious experience wants to be compensated as someone who’s done it as a career, opportunities can start to dry up. Photographers just want to take the picture, not deal with a diva. Think of it much like a job interview; you wouldn’t hire someone to be your doctor if they simply wanted to be a doctor all their life and took a class in first aid. Experience is important. And you can get all you want with TFP/CD.
Be professional, be on time, and know when to say no. Consider setting up a website, something which doesn’t say “I got a MySpace account.” Show your styles and answer the who/what/when/where/why about yourself; let people know how to contact you, and get back with them promptly. Sometimes photographers are working under horrific deadlines, and reaching a viable model is all that’s needed. A quick response can give you the edge.
You might want to forge a relationship with a makeup artist and/or a favorite photographer. If you have a solid relationship with good communication and trust, the photo sessions will go seamlessly and productively. They in turn will become part of a mini-network and potentially bring opportunities to your door that you’d otherwise not have known about.
Eventually, demand may increase, and if it does you may want to get an agent. Usually it’s a while before one gets that far. You might not even need one.
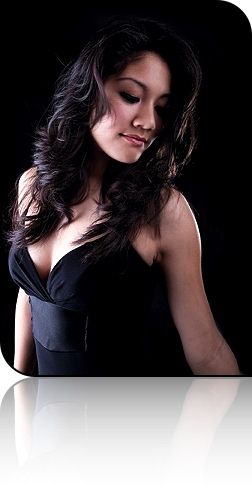
Modeling is a competitive field, with new and younger models entering all the time. Switch your mental role about how you’d market yourself and you’ll see what you need to do to become that. You’re selling an image: yours.